
This professional guide will teach you how to create and use DIY window treatment cleaning solutions made from common household ingredients. Save money and reduce chemical exposure by learning these easy and effective methods for cleaning your window treatments.
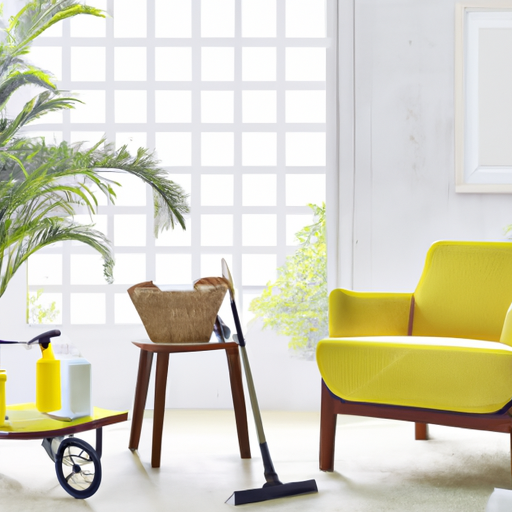
A clean and bright living room with spotless window treatments, showcasing the benefits of DIY cleaning solutions.
Ingredients You'll Need for Your Homemade Cleaning Solutions
Making your own cleaning solutions for your window treatments is not only cost-effective, but it's also a great way to avoid harsh chemicals found in many store-bought cleaners. With a few simple ingredients, you can create your own effective cleaning solutions at home. One key ingredient is white vinegar, which has natural cleaning properties and can help remove dirt and grime from your window treatments. You'll also need a mild dish soap, which is gentle enough to use on most fabrics and won't leave any residue. Another key ingredient is baking soda, which can help remove tough stains and odors from your window treatments.
In addition to these main ingredients, you may also want to have some essential oils on hand to add a fresh scent to your cleaning solution. Lemon and lavender essential oils are both great options for cleaning, as they have natural antibacterial properties and can help freshen up your window treatments. You may also want to have a spray bottle or bucket on hand to mix and apply your cleaning solution.
It's important to note that while making your own cleaning solutions can be a great option, not all window treatments can be cleaned with the same solution. Some fabrics may require a gentler approach, while wooden or faux-wooden blinds may require a different cleaning method altogether. It's important to research and understand the best cleaning methods for your specific type of window treatment before diving in.
How to Clean Fabric Window Treatments: A Step-by-Step Guide
Cleaning your fabric window treatments doesn't have to be a hassle. In fact, with a DIY cleaning solution, you can have your curtains, drapes, and shades looking as good as new in no time. The key is to use the right ingredients and follow a few simple steps.
First, you'll want to remove any dust or debris from your window treatments. This can be done using a soft brush or by vacuuming them on a low setting. Once you've cleared away the surface dirt, it's time to tackle any stains or odors.
For a quick and easy DIY cleaning solution, combine equal parts water and vinegar in a spray bottle. Spritz the mixture onto your fabric window treatments, being careful not to oversaturate them. Then, using a clean, damp cloth, gently blot the solution onto the stained areas. Allow the solution to sit for a few minutes before rinsing it away with warm water.
If you're dealing with particularly stubborn stains or odors, you may want to try a more potent DIY cleaning solution. For example, you can mix baking soda and water to create a paste that can be applied directly to the affected areas. Let the paste sit for a few minutes before rinsing it away with warm water and a clean cloth.
It's important to note that not all fabric window treatments can be cleaned using the same method. For example, some fabrics may be too delicate for vinegar or baking soda. Always check the care label on your window treatments before attempting to clean them, and consider seeking professional help if you're unsure.
A person gently scrubbing fabric window treatments with a soft brush, using a homemade cleaning solution.
"The secret to a sparkling clean window treatment? Regular maintenance." – Tips from the Pros
If you want your window treatments to look their best, it's essential to clean them regularly. While commercial cleaning products are readily available, many of them contain harsh chemicals that can damage delicate fabrics or finishes. Fortunately, there are plenty of DIY cleaning solutions you can make at home that are safe, effective, and budget-friendly.
One of the main benefits of DIY cleaning solutions is that you can control the ingredients. Many household staples, like vinegar and baking soda, are effective at removing dirt and grime without damaging your window treatments. Plus, you'll save money in the long run by avoiding expensive commercial products.
Regular maintenance is key to keeping your window treatments looking their best. Dust and dirt can accumulate quickly, especially in high-traffic areas or homes with pets. By cleaning your window treatments regularly, you'll prevent dirt buildup and avoid having to tackle stubborn stains later on.
Cleaning your window treatments is also essential for maintaining indoor air quality. Dust and allergens can accumulate on your blinds or curtains, leading to respiratory issues or allergies. By cleaning your window treatments regularly, you'll improve the air quality in your home and enjoy a healthier living environment.
What About Wooden and Faux-Wood Blinds? Best Practices for Cleaning
Wooden and faux-wood blinds are a popular and timeless choice for window treatments. They add a touch of warmth and elegance to any room. However, cleaning these types of blinds can be a challenge. Too much water or harsh chemicals can damage the finish and warp the slats. That's why it's important to know the best practices for cleaning wooden and faux-wood blinds.
Firstly, it's important to dust your wooden and faux-wood blinds regularly. Use a soft cloth or feather duster to remove any dust or debris that may have accumulated on the slats. This will prevent the need for deep cleaning and help prolong the life of your blinds.
If your blinds require a deeper clean, avoid using water or harsh chemicals. Instead, opt for a gentle cleaning solution. One option is a mixture of equal parts water and vinegar. Simply apply the solution to a soft cloth and gently wipe down each slat. This will help remove any grime or dirt buildup without damaging the finish.
For stubborn stains or grime, you can try using a cleaner specifically designed for wooden or faux-wood blinds. Be sure to read the label and follow the instructions carefully. It's also a good idea to test the cleaner on a small, inconspicuous area of the blinds before applying it to the entire surface.
When cleaning your blinds, it's important to be gentle and avoid applying too much pressure or water. After cleaning, be sure to dry the blinds thoroughly with a clean, dry cloth. This will help prevent water damage and ensure that your blinds look their best for years to come.

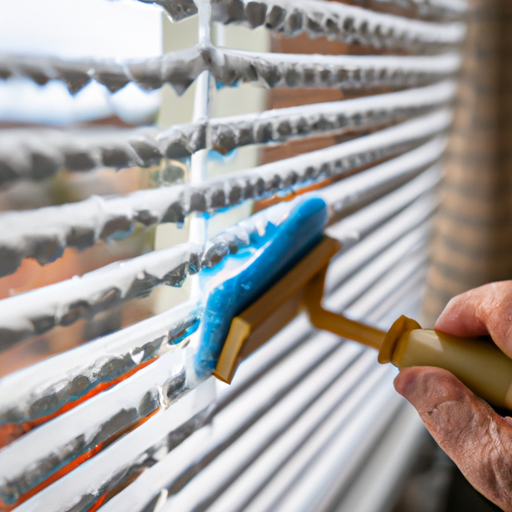
Close-up of wooden blinds being wiped clean with a microfiber cloth and DIY cleaning solution.
Can Your DIY Solution Tackle Stubborn Stains and Odors?
Many commercial window treatment cleaners contain harsh chemicals that can be harmful to both your family and the environment. That's why more and more people are turning to DIY cleaning solutions for their window treatments. Not only are these solutions safer, but they are also often more affordable and just as effective as store-bought cleaners.
But can your DIY solution tackle stubborn stains and odors? The answer is yes! With the right ingredients and techniques, you can make a cleaning solution that will leave your window treatments looking and smelling fresh. One of the best things about making your own cleaning solution is that you can customize it to suit your needs. For example, if you have pets or smokers in your home, you may want to add extra ingredients to combat odors.
When it comes to tackling stubborn stains, it's important to act quickly. The longer a stain sits, the harder it will be to remove. If you notice a stain on your window treatment, start by blotting it with a clean cloth to remove any excess liquid. Then, apply your DIY cleaning solution and let it sit for a few minutes. Use a soft-bristled brush or sponge to gently scrub the stain, being careful not to damage the fabric. Rinse the area with clean water and blot it dry with a clean towel.
Safe Storage and Disposal of Your Homemade Cleaning Solutions
When it comes to making your own cleaning solutions, it's important to not only consider how effective they are, but also how safe they are to use and store. Here are some key points to keep in mind when it comes to storing and disposing of your homemade cleaning solutions.
- Storing Your Homemade Cleaning Solutions:
When storing your cleaning solutions, it's important to keep them out of reach of children and pets. Consider using child-proof caps or storing your solutions in a locked cabinet or high shelf. Additionally, be sure to label your solutions clearly with their ingredients and purpose, so you don't accidentally use the wrong solution on the wrong surface. - Disposing of Your Homemade Cleaning Solutions:
When it comes time to dispose of your cleaning solutions, it is important to do so properly to avoid any potential hazards. Never pour your solutions down the drain or into the toilet, as they can harm the environment and potentially damage your plumbing. Instead, consider taking them to a hazardous waste disposal facility or contacting your local waste management department for guidance. - Alternatives to Chemical Cleaning Solutions:
If you're looking for a more eco-friendly cleaning solution, there are many alternatives to chemical-based products. For example, you can use vinegar and water to clean windows and blinds, or baking soda and water to remove stains from fabric treatments. Additionally, you can consider purchasing eco-friendly cleaning products from a reputable retailer.
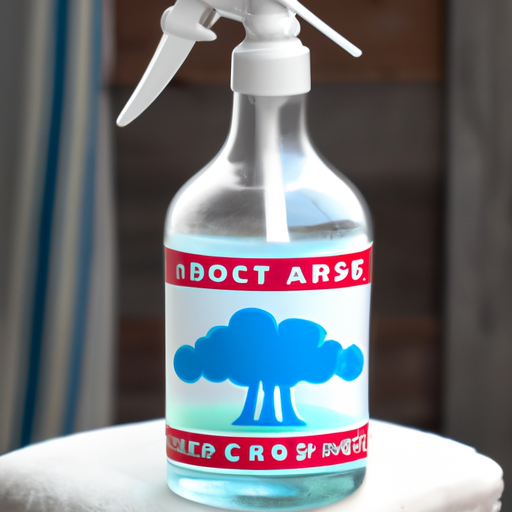
A labeled glass spray bottle filled with homemade window treatment cleaning solution, stored safely away from children and pets.
DIY Window Treatment Cleaning Solutions:
| Solution | Ingredients | Directions | Effectiveness |
|---|---|---|---|
| Baking Soda & Water | Baking Soda, Water | Mix baking soda and water to make a paste. Apply to window treatments with a sponge or cloth. Wipe clean and rinse with water. | Very effective |
| Vinegar & Water | White Vinegar, Water | Mix equal parts vinegar and water in a bucket. Dip a cloth in the solution and wring out the excess liquid. Wipe window treatments clean and rinse with water. | Good |
| Dish Soap & Water | Dish Soap, Water | Mix a few drops of dish soap with water to create a solution. Apply to window treatments with a cloth or sponge and wipe clean. Rinse with water. | Good |
| Lemon Juice & Water | Lemon Juice, Water | Mix fresh lemon juice with water. Apply the solution to window treatments with a cloth and wipe clean. Rinse with clean water. | Moderate |
In conclusion, DIY window treatment cleaning solutions are an eco-friendly and cost-effective alternative to store-bought products. By using common household ingredients, you can keep your window treatments looking fresh and clean without relying on harsh chemicals.