Is your kitchen exhaust fan not performing as it used to? Our comprehensive guide will walk you through the steps you need to take to restore its efficiency and improve your kitchen's air quality. Discover the importance of a clean exhaust fan, what tools you'll need, and the step-by-step process to make your exhaust fan as good as new.
Why Should You Clean Your Kitchen Exhaust Fan?
Cleaning your kitchen exhaust fan is essential for maintaining better air quality in your kitchen. Not only does it help to eliminate odors and smoke, but it also prevents the buildup of grease and other particles that can accumulate over time. A dirty exhaust fan can lead to poor ventilation, which can have negative effects on your health and the overall cleanliness of your kitchen.
- 1. Improved Air Quality:
One of the primary reasons to clean your kitchen exhaust fan is to improve the air quality in your kitchen. As you cook, smoke, odors, and airborne particles are sucked up by the fan and expelled outside. However, over time, grease and grime can accumulate on the fan blades and in the ducts, hindering proper airflow and reducing the fan's effectiveness. By regularly cleaning your exhaust fan, you ensure that it can efficiently remove pollutants and maintain fresh air circulation. - 2. Fire Prevention:
A dirty kitchen exhaust fan increases the risk of a fire hazard. Built-up grease and oil on the fan blades and in the ducts are highly flammable. If a spark ignites this accumulated grease, it can lead to a dangerous kitchen fire. Regularly cleaning your exhaust fan helps to eliminate this fire hazard, providing a safer environment for cooking. - 3. Longer Lifespan of the Fan:
Cleaning your kitchen exhaust fan can also prolong its lifespan. When the fan blades are covered in grease and dirt, the motor has to work harder to maintain proper airflow. This added strain can lead to premature wear and tear on the fan motor, resulting in a shorter lifespan. By keeping the fan clean and free from buildup, you ensure that it operates smoothly and efficiently, extending its longevity.
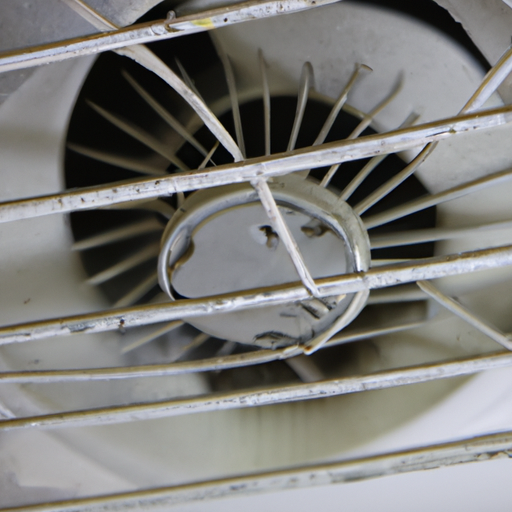
A picture of a dusty kitchen exhaust fan showing the need for cleaning
What Tools Will You Need for Cleaning?
Cleaning your kitchen exhaust fan requires a few essential tools to ensure a thorough and effective cleaning process. Here are the tools you will need:
- 1. Screwdriver:
A screwdriver is necessary to remove the fan cover or access panel, allowing you to access the fan blades and interior components for cleaning. Make sure to use the appropriate size and type of screwdriver for your specific exhaust fan model. - 2. Cleaning solution:
You will need a suitable cleaning solution to tackle the grease and grime that has accumulated on the fan blades and other surfaces. Opt for a degreaser or a mixture of warm water and dish soap to effectively remove the buildup. - 3. Microfiber cloth or sponge:
To scrub and wipe down the fan blades, ducts, and other surfaces, a microfiber cloth or sponge is ideal. These materials are gentle yet effective at capturing dirt and grease without scratching the surfaces. - 4. Vacuum cleaner:
A vacuum cleaner with a brush attachment is useful for removing loose dirt, dust, and debris from the fan blades, ducts, and surrounding areas. This step helps to minimize the mess and makes further cleaning more manageable. - 5. Bucket or basin:
Having a bucket or basin filled with warm soapy water allows you to rinse and soak the removable fan components before cleaning them. It makes it easier to thoroughly clean the fan parts and ensures they are free from any residual grease or dirt. - 6. Protective gear:
It is essential to prioritize safety when cleaning your kitchen exhaust fan. Wear protective gear such as gloves and safety goggles to protect your hands and eyes from any cleaning solutions or debris that may come in contact during the cleaning process.
"A clean exhaust fan is a happy fan." – The Cleaning Process
Cleaning your kitchen exhaust fan is a crucial step in maintaining better air quality in your kitchen. Follow these steps to ensure a thorough cleaning process:
1. Start by turning off the power:
Before beginning the cleaning process, make sure to turn off the power to the exhaust fan. This is essential for your safety and to prevent any accidents while handling the fan and its components.
2. Remove the fan cover or access panel:
Use a screwdriver to carefully remove the fan cover or access panel. Set it aside for cleaning separately.
3. Clean the fan blades and interior:
Dip a microfiber cloth or sponge in a suitable cleaning solution and gently scrub the fan blades, removing any grease or grime buildup. Pay attention to the nooks and crevices where dirt tends to accumulate. Use a vacuum cleaner with a brush attachment to remove any loose dirt or debris.
4. Clean the fan cover or access panel:
Soak the fan cover or access panel in warm soapy water and scrub it with a sponge or cloth to remove any dirt or grease. Rinse it thoroughly and dry it before reattaching it to the fan.
- 5. Clean the ducts and vents:
Use a vacuum cleaner with a brush attachment to remove any dust or debris from the ducts and vents connected to the exhaust fan. You can also use a damp cloth or brush to wipe down these areas and remove any stubborn dirt. - 6. Reassemble and test:
Once all the components are clean and dry, reattach the fan cover or access panel and secure it with screws. Turn on the power and test the fan to ensure it is functioning properly.
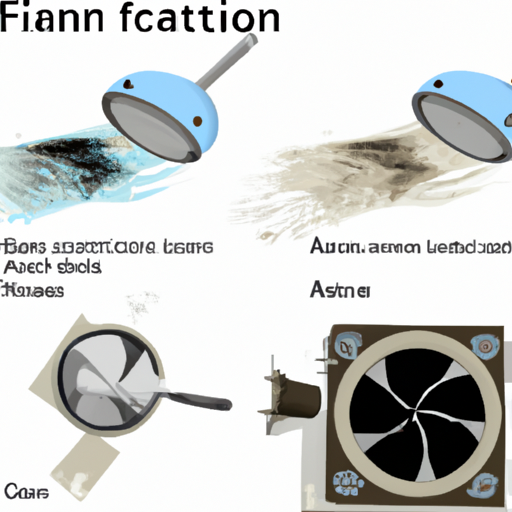
A step-by-step image guide showing the cleaning process of the kitchen exhaust fan
How Often Should You Clean Your Kitchen Exhaust Fan?
The frequency of cleaning your kitchen exhaust fan depends on various factors such as cooking habits, frequency of use, and the level of buildup. Generally, it is recommended to clean your kitchen exhaust fan at least once every three to six months. However, if you cook frequently or use your stove for heavy frying or grilling, you may need to clean it more often.
One way to determine if your kitchen exhaust fan needs cleaning is by observing the buildup of grease and dirt. If you notice a thick layer of grease on the fan blades or if the fan is not functioning as efficiently as before, it's a clear indication that it's time to clean it.
Another factor to consider is the presence of unpleasant odors in your kitchen. If you notice persistent odors even after cooking, it may indicate that your exhaust fan is not effectively removing the airborne particles and odors. In such cases, it is crucial to clean the fan to improve air quality and eliminate odors.
Additionally, if you notice that the airflow from the exhaust fan is weaker than usual or if there is excessive noise coming from the fan, it could be a sign of a clogged or dirty fan. Cleaning it regularly will help maintain its optimal performance and prevent any potential issues.
How to Clean Your Kitchen Exhaust Fan for Better Air Quality:
| Step | Tools | Time Required | Difficulty |
|---|---|---|---|
| Gather Supplies | Screwdriver, Vacuum Cleaner, Brush, Clean Cloth | 15 minutes | Easy |
| Disconnect Power | None | 1 minute | Easy |
| Remove Fan Cover | Screwdriver | 2 minutes | Easy |
| Clean Fan Blades | Vacuum Cleaner, Brush, Clean Cloth | 5 minutes | Easy |
A clean kitchen exhaust fan is essential for maintaining good air quality in your home. With this guide, you can ensure that your fan is working at its peak efficiency, removing smoke, odors, and other pollutants that are harmful to your health. Remember, regular cleaning not only benefits your health but also extends the life of your exhaust fan.