
Ever wondered how to turn your grimy, burnt-out oven into a shiny and grime-free appliance? Discover the secrets of easy oven cleaning with our straightforward guide. We'll walk you through the process, revealing the do's and don'ts, the best eco-friendly cleaning solutions, and some handy tips you wouldn't want to miss.
'The First Step: Is Your Oven Ready For Cleaning?'
Before diving into the process of oven cleaning, it's important to assess whether your oven is ready for a thorough scrubbing. Start by turning off the oven and allowing it to cool down completely. This is crucial to avoid any burns or injuries during the cleaning process. Once the oven is cool, remove any racks, trays, or other accessories that may be inside. These can be cleaned separately later on.
Next, take a good look at the oven's interior. Is it covered in grease, food residue, or burnt-on stains? If so, it's definitely time for a cleaning session. Check the oven door as well, as it can accumulate grime and grease over time. Ensure that the oven's self-cleaning feature is turned off, if applicable, as this guide focuses on manual oven cleaning methods.
Inspect the oven's exterior as well. Is it dusty, stained, or in need of a wipe-down? Don't forget to check the knobs, buttons, and control panel. These areas can accumulate dirt and grease, affecting their functionality. If needed, prepare a gentle cleaning solution for the exterior surfaces using mild dish soap and warm water. This will help remove any surface stains and leave your oven looking fresh and clean.
Finally, check the ventilation system of your oven. Ensure that the vents are clear of any blockages, as this can affect the oven's performance and safety. If you notice any debris or buildup, carefully remove it using a soft brush or cloth. Remember, a clean and well-maintained oven will not only enhance your cooking experience but also prolong the lifespan of your appliance.
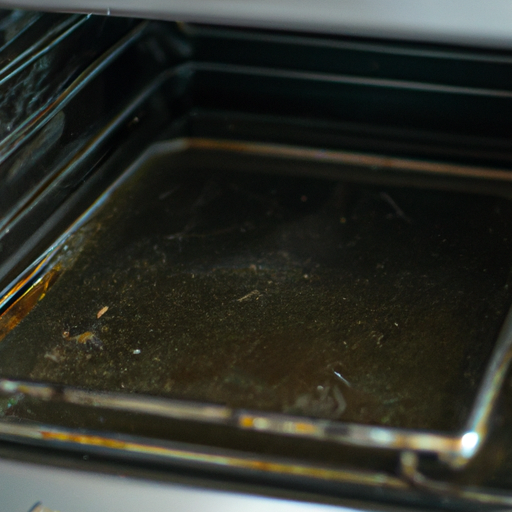
A photo showing a dirty oven before the cleaning process begins.
'What's That Smell? Natural Cleaning Solutions You Can Make at Home!'
When it comes to cleaning your oven, the last thing you want is to be overwhelmed by harsh chemical smells. Luckily, there are natural cleaning solutions that you can easily make at home. These solutions are not only effective in removing stubborn stains and grease, but they also leave your oven smelling fresh and clean.
One popular natural cleaning solution is a mixture of baking soda and vinegar. Start by sprinkling a generous amount of baking soda on the oven's interior surfaces. Then, spray vinegar over the baking soda, causing a fizzing reaction. Let this mixture sit for about 15 minutes to work its magic. The baking soda will help loosen grime and grease, while the vinegar acts as a natural degreaser and deodorizer.
Another effective natural cleaner is lemon juice. Lemons are known for their powerful cleaning properties and refreshing scent. Squeeze the juice of one or two lemons into a spray bottle, then dilute it with equal parts of water. Spray this mixture onto the oven surfaces and let it sit for about 10 minutes. The acidity of the lemon juice will help break down grease and stains, while the citrus scent leaves a pleasant aroma.
If you're dealing with particularly stubborn stains, you can create a paste using baking soda and water. Mix the two ingredients until you have a thick, spreadable consistency. Apply this paste to the affected areas and let it sit for at least 30 minutes. Then, use a sponge or cloth to scrub away the stains. The baking soda acts as an abrasive agent, while the water helps loosen the grime.
'Scrub, Rinse, Repeat: How to Do it Right?'
When it comes to cleaning your oven, it's important to follow the proper steps to ensure a thorough and effective clean. The first step is to remove any removable parts, such as racks and trays, and soak them in warm soapy water. This will help loosen any built-up grime and make them easier to clean later.
Next, using a sponge or cloth, scrub the interior surfaces of the oven with your chosen cleaning solution. Make sure to pay extra attention to any areas with stubborn stains or grease. Use a circular motion and apply gentle but firm pressure to effectively remove dirt and residue.
After scrubbing, it's time to rinse off the cleaning solution. Use a clean sponge or cloth soaked in warm water to wipe away any remaining residue. Make sure to rinse thoroughly to avoid leaving any cleaning solution behind, as it can affect the taste and smell of your food when you use the oven next.
Once you have rinsed off the cleaning solution, it is important to dry the oven thoroughly. Use a clean, dry cloth or towel to wipe down the interior surfaces, ensuring that there is no moisture left behind. This will help prevent any potential rusting or damage to the oven.
Finally, repeat the cleaning process if necessary. If you still notice stubborn stains or residue, don't be afraid to give it another round of scrubbing and rinsing. Sometimes, a little extra effort is needed to achieve a perfectly clean oven.
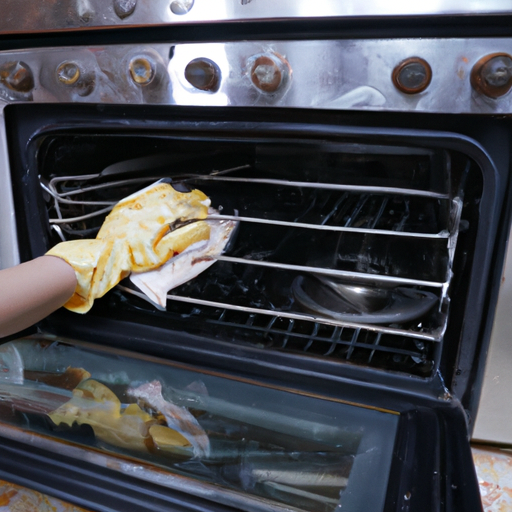
A step-by-step photo series showing the process of scrubbing and rinsing the oven.
'Final Touches: How to Maintain Your Oven's Cleanliness?'
Maintaining the cleanliness of your oven is just as important as cleaning it in the first place. By implementing a few simple habits, you can ensure that your oven stays clean and ready to use whenever you need it.
First, make it a habit to wipe down your oven after each use. This can be done using a damp cloth or sponge to quickly remove any spills or splatters. By addressing these messes promptly, you can prevent them from becoming stubborn stains that require heavy scrubbing later on.
In addition to wiping down the oven after each use, it is important to regularly clean the oven racks and trays. These can accumulate grease and grime over time, so it's a good idea to give them a thorough clean every few weeks. Soak them in warm soapy water and scrub them clean before rinsing and drying them thoroughly.
Another tip for maintaining oven cleanliness is to use oven liners or aluminum foil to catch any drips or spills. This can make cleaning up much easier and prevent the need for deep cleans as frequently. Simply replace the liners or foil as needed to keep your oven looking clean and fresh.
Additionally, it's important to regularly check the oven's seals and gaskets. Over time, these can become worn or damaged, allowing heat and moisture to escape. By ensuring that the seals are intact, you can prevent any buildup of dirt or grime in those areas.
Lastly, consider scheduling a deep clean for your oven every few months. This can involve using a specialized oven cleaner or a natural cleaning solution, depending on your preference. By giving your oven a thorough clean on a regular basis, you can maintain its performance and keep it looking like new for years to come.
Oven Cleaning Steps:
| Step | Do's | Don'ts | Tips |
|---|---|---|---|
| 1. Empty the oven | Remove all racks and pans from the oven. | Do not use abrasive cleaners or steel wool. | Wear rubber gloves to protect skin. |
| 2. Pre-treat stains | Spray oven cleaner on all surfaces. | Do not use oven cleaner on painted surfaces. | Let the cleaner sit for 5-10 minutes. |
| 3. Clean the oven | Scrub the oven with a sponge or cloth. | Do not use harsh chemicals or scouring pads. | Use an eco-friendly cleaner for best results. |
| 4. Rinse the oven | Wipe the oven with a damp cloth. | Do not leave residue on the oven walls. | Replace cloth regularly to avoid spreading dirt. |
Oven cleaning doesn't have to be a daunting task anymore. With the simple steps and tips provided in this guide, you'll be able to turn this chore into a breeze. Remember, consistency is the key; a regular clean-up will save you from the hassle of dealing with stubborn grime and ensure your oven's longevity.